Ever started a project and felt like you were juggling flaming torches while riding a unicycle? Yeah, we've all been there. Good news: there's a simple tool that can turn your project chaos into smooth sailing.
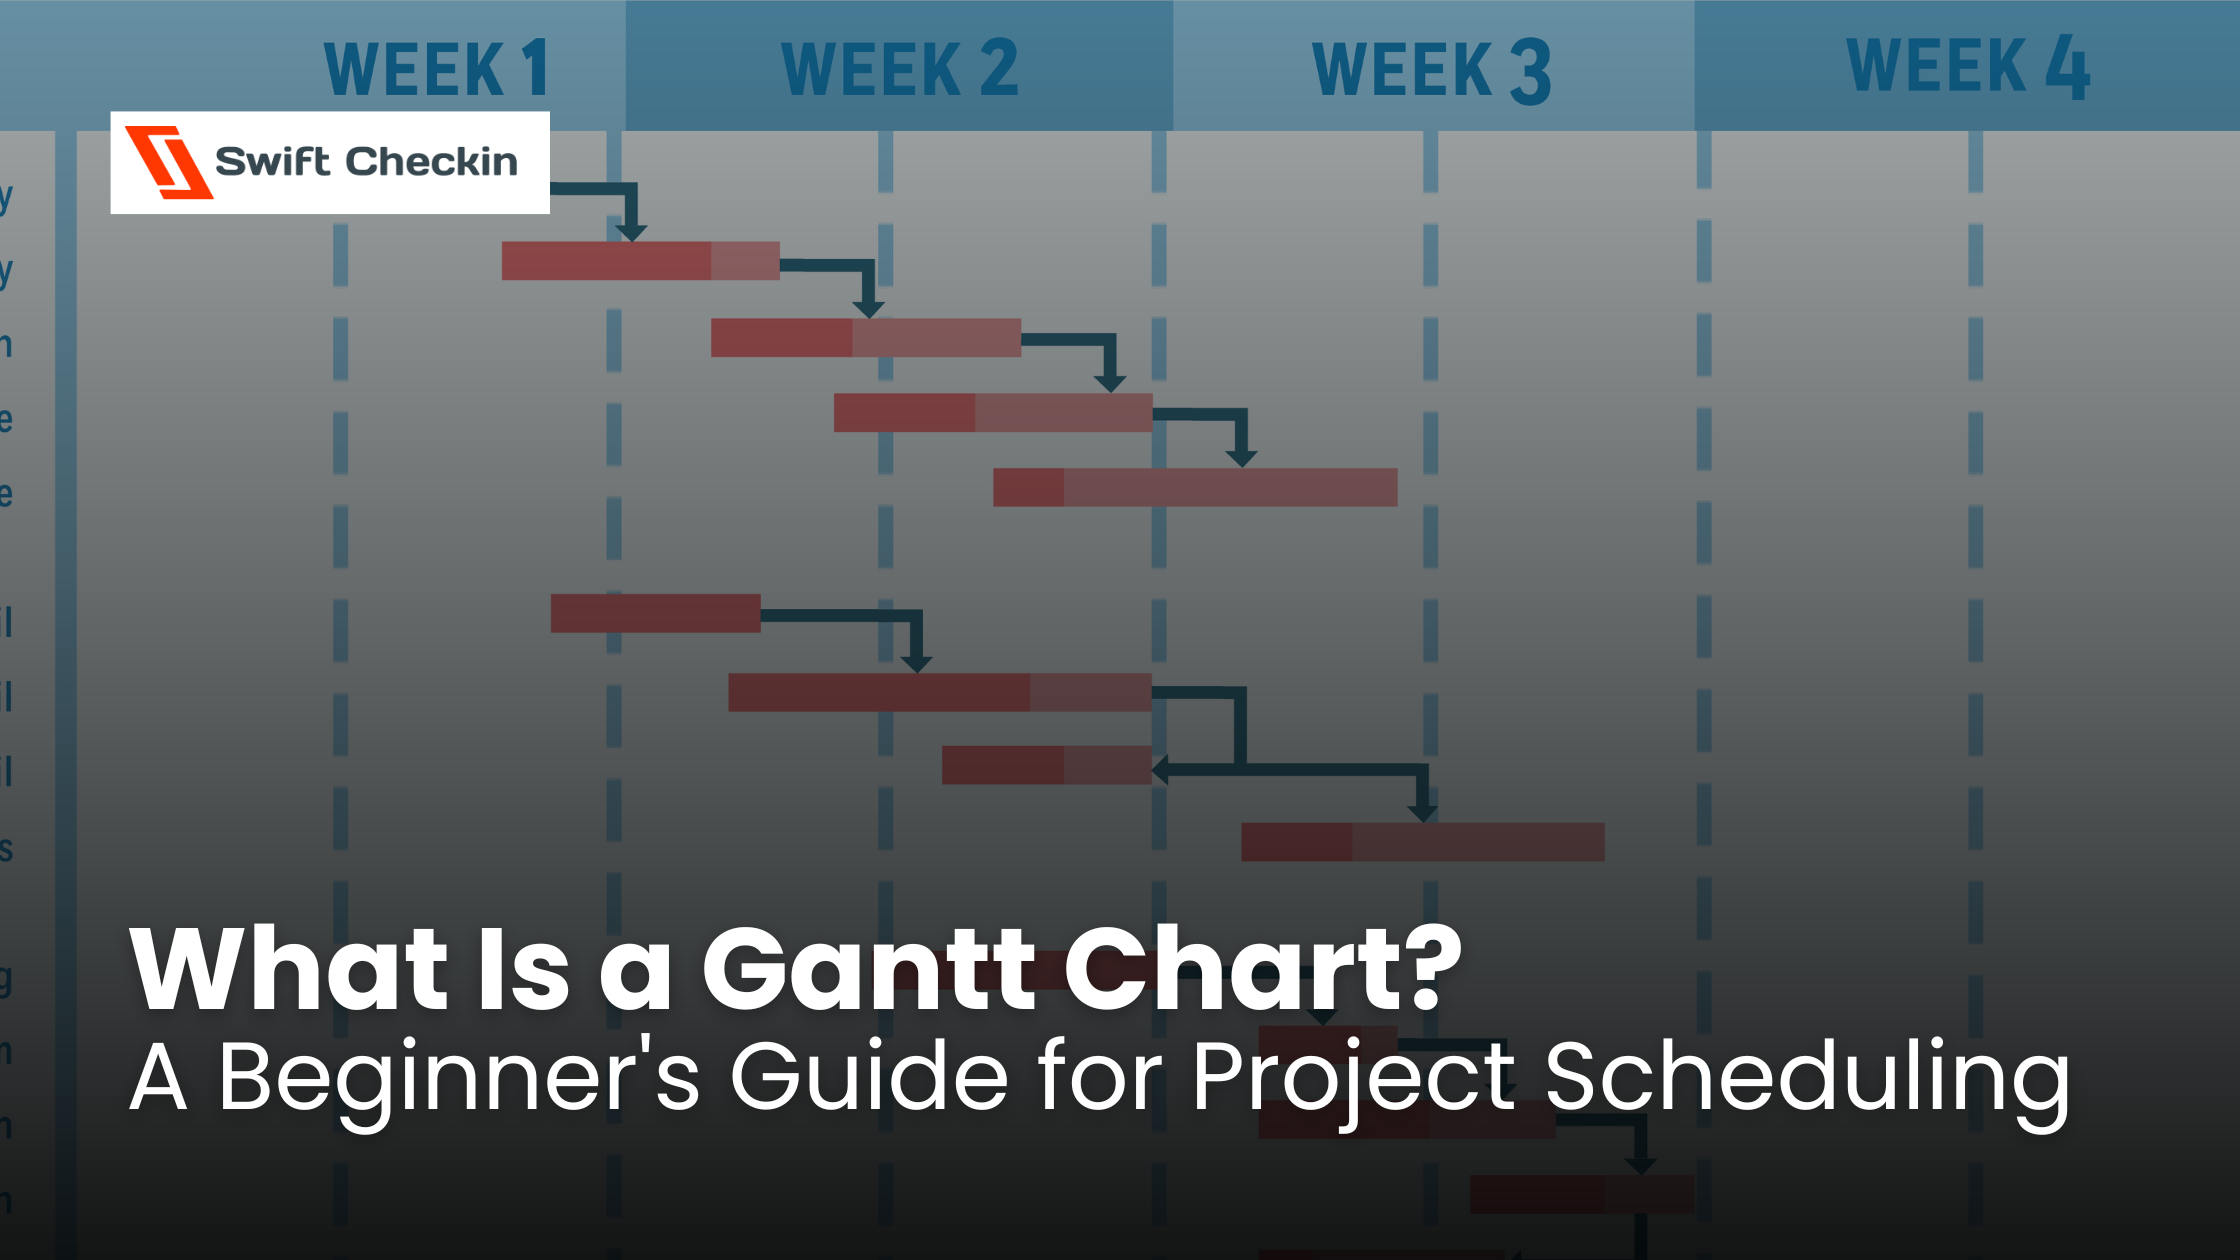
A Gantt chart is a simple bar chart that lets you see all your project tasks laid out on a timeline, so you can easily track what needs to be done and when.
Think of a Gantt chart as your project's GPS. Just like how your phone shows you the route to get somewhere, a Gantt chart shows you the path to complete your project.
Henry Gantt invented this back in the 1910s, and it's still the go-to tool for project managers today. Why? Because it works.
Here's what you'll see in a Gantt chart:
Here's the thing: 65% of projects fail in scheduling, according to industry research. That's a lot of wasted time, money, and sanity. But here's the kicker - 50% of projects failing to deliver on time could be prevented with better planning.
Gantt charts help you avoid becoming another statistic. Here's why they're better than your current method:
Ready to build your first Gantt chart? Let's break it down into bite-sized pieces.
Start by brain-dumping every task in your project. Don't worry about order yet. Just get it all out.
Ask yourself, "What deliverables do I need to hand over at the end?" Then work backwards to figure out what tasks will create those deliverables.
Keep tasks between 1 and 10 days long. If something's longer, break it down. If it's shorter, maybe combine it with another task.
Now arrange your tasks in the order they need to happen. Some will be obvious (you can't test something before you build it), others might be flexible.
Look for tasks that depend on each other. These are your "dependencies." Mark them down - you'll need them later.
This is where people usually mess up. We're naturally optimistic about time. That "quick" task? It'll probably take longer than you think.
Here's a trick: Think of your best-case scenario, your worst-case scenario, and your most realistic scenario. Then use the realistic one (or even add a little buffer).
You don't need fancy software to start. Even Excel can work for simple projects. But if you want something designed for Gantt charts, and goes well with on field workers check out Swift Checkin.
The key is to choose a tool that matches your necessities and cover some of your nice-to-haves.
Now comes the fun part. Input your tasks, set their duration, and connect the dependencies.
Start with your first task and work your way down. Set realistic start and end dates. Connect dependent tasks with lines or arrows.
Add milestones for major checkpoints. These are like mini-celebrations along the way.
Before you launch, take a step back. Does your timeline make sense? Are you asking people to work weekends? Do you have enough time for testing and revisions?
Show your draft to a few team members. Fresh eyes often spot issues you missed.
Get everyone together and walk through the chart. Make sure each team member understands their role and deadlines. This is where reliable project management software really shines: it ensures everyone can access the Gantt schedule anytime, from anywhere.
When your team has real-time visibility, there are fewer surprises and less confusion—everyone knows exactly where things stand and what comes next.
Here's where many people fail. Your Gantt chart isn't a museum piece. It's a living document that should change as your project evolves.
Update progress weekly. When things change (and they will), adjust the chart. Keep your team informed about changes.
Swift Checkin makes it a piece of cake. Move a task, and every dependent and dependency task adjusts automatically. And that’s not all—every task assignee gets notified, and the task is synced to their calendars.
Gantt charts aren't magic, but they're pretty close. They turn project planning from guesswork into a clear, visual process that everyone can understand.
Remember: 90% of global senior executives and project management experts say good project management is key to delivering successful results. A Gantt chart is one of the best ways to achieve that good project management.
Start small. Pick one project and give Swift Checkin a try. You’ll see how much easier it is to keep your team on track—and how quickly everyone gets used to having a clear, real-time schedule. Once you experience the difference, you won’t want to manage another project without it. Why not make your next project the smoothest one yet?
